In the world of barbecue, few things can match the sheer satisfaction of savoring perfectly cooked Pit Barrel Cooker Ribs. The tantalizing aroma, the succulent meat that falls off the bone, and the smoky flavors that dance on your taste buds – it's a culinary experience like no other. If you're on a quest to achieve this level of culinary excellence, look no further, because the Pit Barrel Cooker is your ultimate ally.
Picture this: a warm summer day, friends and family gathered around, the anticipation building as the Pit Barrel Cooker works its magic. It's a scene that epitomizes the joy of outdoor cooking, where the sizzle of ribs on the grill becomes the soundtrack to a memorable day.
But what makes the Pit Barrel Cooker so remarkable? Why is it the go-to choice for those in the know? In this comprehensive post, we will journey deep into the realm of Pit Barrel Cooker ribs, leaving no stone unturned. Whether you're a seasoned pitmaster or someone just beginning their barbecue adventure, we've got you covered.
Develop knowledge and techniques
Our mission is clear: to equip you with the knowledge and techniques needed to become a true pitmaster in your own right. You'll learn the ins and outs of cooking Pit Barrel Cooker Ribs, from selecting the perfect cut of meat to achieving that mouthwatering tenderness and smoky flavor that will have your guests coming back for seconds.
So, whether you're looking to up your barbecue game, impress your friends and family, or simply indulge in the ultimate rib experience, join us on this flavorful journey. The Pit Barrel Cooker is waiting, and together, we'll unlock the secrets to creating ribs that will be the highlight of any gathering. Get ready to embark on a delicious adventure, and let's master the art of Pit Barrel Cooker ribs.
Pit Barrel Cooker Ribs
The Pit Barrel Cooker stands as a true game-changer in the world of outdoor cooking, a testament to the innovation that elevates barbecue to an art form. Its unique design sets it apart, and understanding its intricacies is essential for those aspiring to become pitmasters.
Imagine a culinary apparatus that seamlessly blends the best aspects of smoking and grilling, creating a symphony of flavors that dance on your palate. That's precisely what the Pit Barrel Cooker offers. It's more than just a grill; it's a versatile cooking tool that promises an exceptional culinary journey.
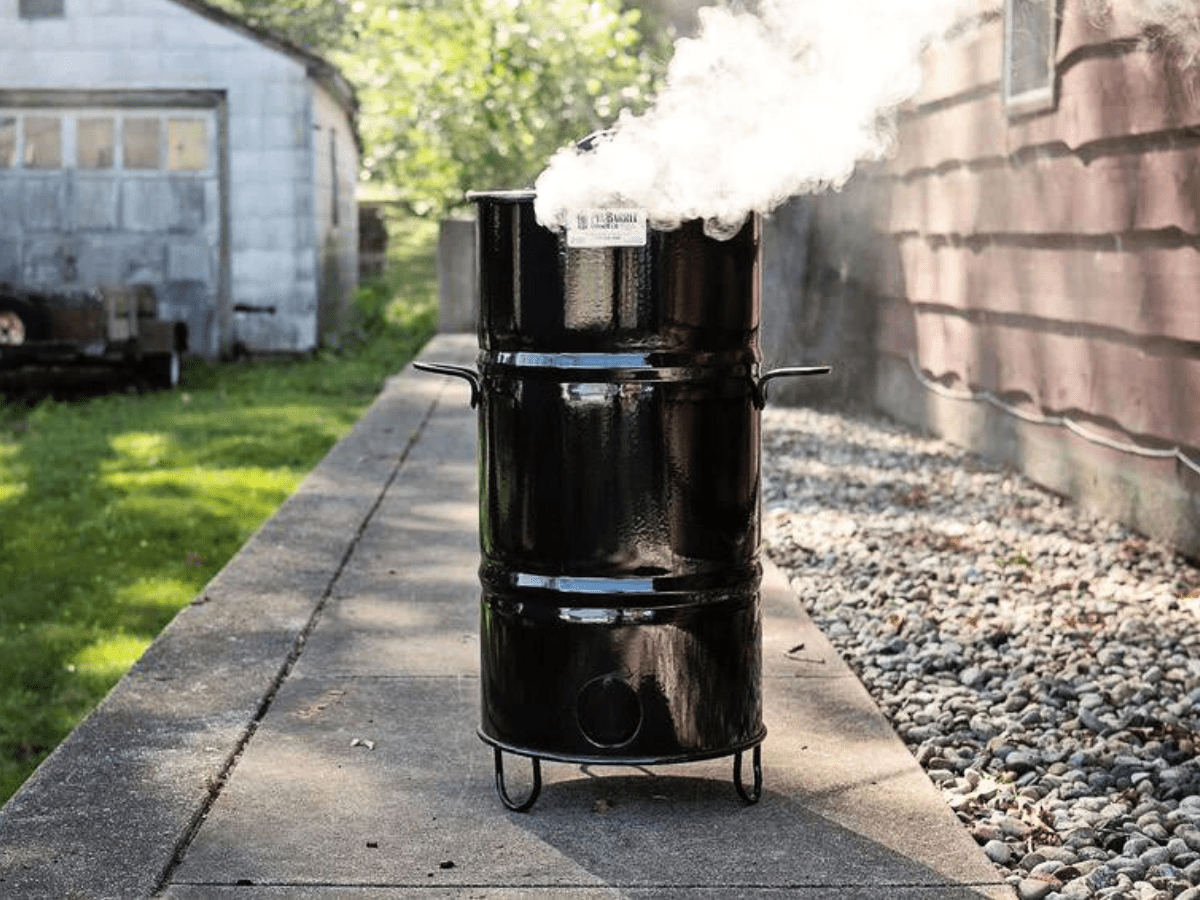
Vertical Brilliance: At its core, the Pit Barrel Cooker boasts a vertical barrel design. This may seem like a simple concept, but it's ingeniously effective. Unlike traditional horizontal smokers, this vertical design ensures even heat distribution, guaranteeing that each rib receives the same level of attention throughout the cooking process. Say goodbye to the frustration of hot spots and unevenly cooked meat; the Pit Barrel Cooker has it all under control.
Charcoal Infusion: The real magic of the Pit Barrel Cooker lies in its use of charcoal. This humble fuel source imparts a distinctive, smoky flavor to your ribs that's nothing short of sublime. What sets this cooker apart is its ingenious airflow system. It efficiently burns the charcoal, maintaining a consistent temperature for hours on end. This controlled heat is the key to achieving that perfectly smoked and grilled flavor combination.
Benefits of Using Pit Barrel Cooker
Now that we've explored the remarkable design of the Pit Barrel Cooker, let's dive into why it's the preferred choice for rib aficionados and outdoor cooking enthusiasts alike. There's a multitude of benefits that make this cooker stand out in the world of barbecue:
Consistent Results: When you're aiming for culinary perfection, consistency is paramount. The Pit Barrel Cooker delivers just that. Thanks to its vertical design and precise airflow control, you can expect every batch of ribs to turn out consistently delicious. No more worrying about some ribs being overcooked while others are underdone. With the Pit Barrel Cooker, each rib is a masterpiece.
Flavorful Infusion: The heart of barbecue lies in the infusion of smoky flavors into the meat. The Pit Barrel Cooker excels in this department. It doesn't just cook your ribs; it bathes them in a smoky essence that's hard to replicate with other methods. The result? Ribs that are not just cooked but transformed into mouthwatering, smoky delicacies.
Versatility Unleashed: The Pit Barrel Cooker isn't limited to just one cooking method. It's a versatile tool that allows you to explore a range of culinary possibilities. Whether you're in the mood for slow-smoked perfection or a quick and satisfying grill session, the Pit Barrel Cooker can handle it all. By adjusting the airflow and heat, you can seamlessly transition from slow smoking to high-temperature grilling, all in one cooker.
The Pit Barrel Cooker is a gateway to a world of flavor
In conclusion, the Pit Barrel Cooker isn't just a cooking apparatus; it's a gateway to a world of flavor and culinary excellence. Its unique design and numerous benefits make it the top choice for those who take their rib-cooking seriously. So, if you're ready to embark on a journey of flavor exploration and elevate your barbecue skills, the Pit Barrel Cooker is your trusted companion. Get ready to create Pit Barrel Cooker ribs that will leave your guests raving and your taste buds rejoicing.
Selecting the Perfect Ribs
Before you embark on your journey to Pit Barrel Cooker ribs perfection, it's essential to start with the right canvas – the ribs themselves. The choices you make in selecting and preparing your ribs can make all the difference between a good meal and a truly memorable one.
Baby Back Ribs vs. Spare Ribs
The first fork in the road when selecting ribs is choosing between baby back ribs and spare ribs. These two cuts have distinct characteristics, and understanding the differences is key to making the right choice for your palate.
Baby Back Ribs: These ribs are the leaner and smaller of the two options. They come from the upper part of the pig's ribcage, closer to the spine. Because they are leaner, baby back ribs are often considered a lighter option. They have less fat, which can make them slightly less flavorful but still delicious. If you prefer a rib with a more delicate texture and a cleaner, less fatty taste, baby back ribs are an excellent choice.
Spare Ribs: Spare ribs, on the other hand, are meatier and more substantial. They come from the lower part of the ribcage, closer to the belly. This cut is often favored by barbecue enthusiasts for its richer, more intense flavor. Spare ribs have more fat, which can result in a juicier and more succulent eating experience. If you're looking for a rib that's hearty, with a robust meat-to-bone ratio and a deep, satisfying taste, spare ribs are the way to go.
Ultimately, the choice between baby back ribs and spare ribs comes down to your personal preference and the flavor profile you're aiming for. Both can be elevated to perfection when cooked in a Pit Barrel Cooker, so you can't go wrong with either choice.
Quality Meat Selection
Once you've settled on the type of ribs you want, the next crucial step is selecting the right meat. Quality matters immensely in barbecue, and your choice of meat will significantly impact the final result. Here's how to ensure you're picking the best ribs for the job:
- Marbling: Look for ribs with a good balance of meat and fat marbling. Marbling refers to the intramuscular fat within the meat. While it might seem counterintuitive, fat is your friend when it comes to ribs. During the cooking process, this fat will render, infusing the meat with flavor and ensuring it stays moist and tender. A visually marbled piece of meat is a good indicator of flavor waiting to be unlocked.
- Freshness: Always opt for fresh ribs. If you have access to a local butcher or a trusted meat supplier, that's your best bet. Freshness guarantees that you're starting with a quality product that hasn't been sitting around for too long.
- Consistency: To ensure even cooking, choose ribs of similar size and thickness. This simple step will make a world of difference in the final result. Ribs that are of the same size will cook at the same rate, ensuring that every bite is equally delectable.
In summary, the journey to perfect Pit Barrel Cooker ribs begins with the careful selection of your meat. Whether you lean towards the leaner baby back ribs or the heartier spare ribs, make sure to choose cuts with excellent marbling and uniform sizes. This attention to detail sets the stage for a mouthwatering barbecue experience that will leave your guests craving for more.
Preparing Your Pit Barrel Cooker Ribs
The journey to Pit Barrel Cooker ribs perfection doesn't start at the cooker; it begins with the meticulous preparation of your ribs. Each step in the preparation process contributes to the final masterpiece on your plate. Let's explore the crucial steps to ensure your ribs are nothing short of extraordinary.
Removing the Membrane
If there's one secret to achieving ribs bursting with flavor, it's removing the membrane. This thin, translucent layer on the bone side of the ribs can be tough and chewy when cooked, and it acts as a barrier that prevents seasonings and smoke from fully penetrating the meat.
To unlock the full potential of your Pit Barrel Cooker ribs, follow these steps to remove the membrane:
- Locate an Edge: Begin by gently sliding a butter knife or a similar flat-edged tool under the membrane. Look for a loose edge where you can get a good grip.
- Grip and Peel: Once you've found a starting point, use a paper towel to get a firm grip on the membrane. Slowly peel it away from the ribs, working your way across the rack. The paper towel provides traction and helps prevent the membrane from slipping out of your grasp.
- Patience Pays Off: Removing the membrane can be a bit delicate, so take your time and be patient. If you encounter resistance, use the knife or tool to help lift the membrane away without tearing it.
- Complete the Process: Continue peeling until you've removed the entire membrane. You'll notice the ribs' meaty side is now exposed and ready to absorb the flavors of your seasonings and the smokiness of the Pit Barrel Cooker.
Removing the membrane may seem like a small step, but it's a game-changer when it comes to the texture and flavor of your ribs.
Seasoning Your Ribs
The art of seasoning is where the true magic of Pit Barrel Cooker ribs preparation begins. It's the stage where you infuse your ribs with a symphony of flavors that will have your taste buds singing. While there are countless rub recipes out there, here's a classic and versatile rub recipe tailored for Pit Barrel Cooker ribs:
Ingredients:
- 1/4 cup brown sugar
- 2 tablespoons paprika
- 1 tablespoon salt
- 1 tablespoon black pepper
- 1 tablespoon garlic powder
- 1 tablespoon onion powder
- 1 teaspoon cayenne pepper (adjust to taste for spiciness)
Instructions:
- Mix It Up: In a bowl, combine all the dry ingredients listed above. Stir well to ensure an even distribution of flavors.
- Coat Generously: Lay your ribs on a clean surface, and generously sprinkle the rub mixture onto both sides. Don't be shy; the rub will enhance the flavor and create a beautiful crust as your ribs cook.
- Massage In: Gently massage the rub into the meat, making sure it adheres well. This step allows the flavors to penetrate the ribs and work their magic.
- Rest: Once your ribs are perfectly seasoned, let them rest for about 15-30 minutes. This brief resting period allows the rub to meld with the meat, creating a harmonious flavor profile.
The seasoning process sets the stage for the incredible taste your Pit Barrel Cooker ribs will deliver. It's where your personal touch as a pitmaster shines through, and it's an essential step on the path to rib perfection.
Resting for Maximum Flavor
While it might be tempting to place your seasoned ribs directly onto the Pit Barrel Cooker, there's one more crucial step to ensure maximum flavor in every bite: resting. Resting allows the seasonings to work their magic, infusing the meat with their flavors.
Here's why resting is vital for achieving that burst of flavor:
- Flavor Absorption: During the resting period, the salt in the rub interacts with the meat's proteins. This interaction helps the meat retain moisture and absorb the seasonings' flavors more effectively.
- Moisture Retention: Resting also allows the meat to reabsorb some of its natural juices that may have been drawn to the surface during seasoning. This means your ribs will be juicier and more tender.
- Uniform Cooking: Resting brings the meat to a consistent temperature throughout, ensuring even cooking when it hits the Pit Barrel Cooker.
To rest your seasoned ribs, simply place them on a baking sheet or a clean surface and cover them loosely with aluminum foil. Let them rest for at least 15-30 minutes before they meet the smoky embrace of your Pit Barrel Cooker.
In conclusion, preparing your ribs is a crucial step in the journey to Pit Barrel Cooker ribs perfection. Remove the membrane to unlock flavor, season your ribs with care and creativity, and give them the time to rest and absorb the flavors. These steps will set the stage for ribs that are nothing short of extraordinary and a barbecue experience that will leave your guests craving for more.
The Pit Barrel Cooker Ribs Cooking Process
Now that you've meticulously prepared your ribs, it's time to dive into the heart of the Pit Barrel Cooker Ribs cooking process. This is where the magic happens, where your ribs undergo a flavorful transformation that will leave you and your guests in awe. Let's break down the cooking process step by step.
Placing Charcoal in the Cooker
To achieve consistent and controlled cooking with your Pit Barrel Cooker, proper placement of charcoal is essential. The Pit Barrel Cooker's design makes this process straightforward, but there are a few key considerations to keep in mind:
With the charcoal properly placed and the intake damper adjusted, your Pit Barrel Cooker is now ready to work its smoky magic on your seasoned ribs.
Hanging Your Seasoned Ribs
One of the distinctive features of the Pit Barrel Cooker is its vertical cooking method. This unique approach ensures even heat distribution and consistent cooking across all your ribs.
Monitoring and Maintaining Temperature
Maintaining the ideal temperature throughout the cooking process is key to achieving perfectly cooked Pit Barrel Cooker ribs. Here's how to master the temperature control:
Basting and Glazing
As your Pit Barrel Cooker ribs cook to perfection, you have the opportunity to add an extra layer of flavor with basting and glazing. Here's when and how to do it:
- Basting: About halfway through the cooking process, consider basting your ribs with a flavorful liquid. This can be a barbecue sauce, a marinade, or a mixture of your favorite seasonings. Use a basting brush to evenly coat the ribs. This step adds moisture and enhances the flavor profile.
- Glazing: Towards the end of the cooking time, it's time to glaze your ribs for that perfect finishing touch. Brush on your chosen glaze and allow it to caramelize slightly over the heat. This creates a mouthwatering, sticky-sweet crust that elevates the flavor of your ribs.
Where true barbecue magic happens
In conclusion, the Pit Barrel Cooker rib cooking process is where the true barbecue magic happens. Proper placement of charcoal, the vertical hanging method, temperature control, and the addition of basting and glazing all contribute to the masterpiece that will soon grace your plate. So, fire up your Pit Barrel Cooker, hang those seasoned ribs, and get ready for a smoky, flavorful adventure that will have you and your guests savoring every bite.
Achieving Pit Barrel Cooker Ribs Perfection
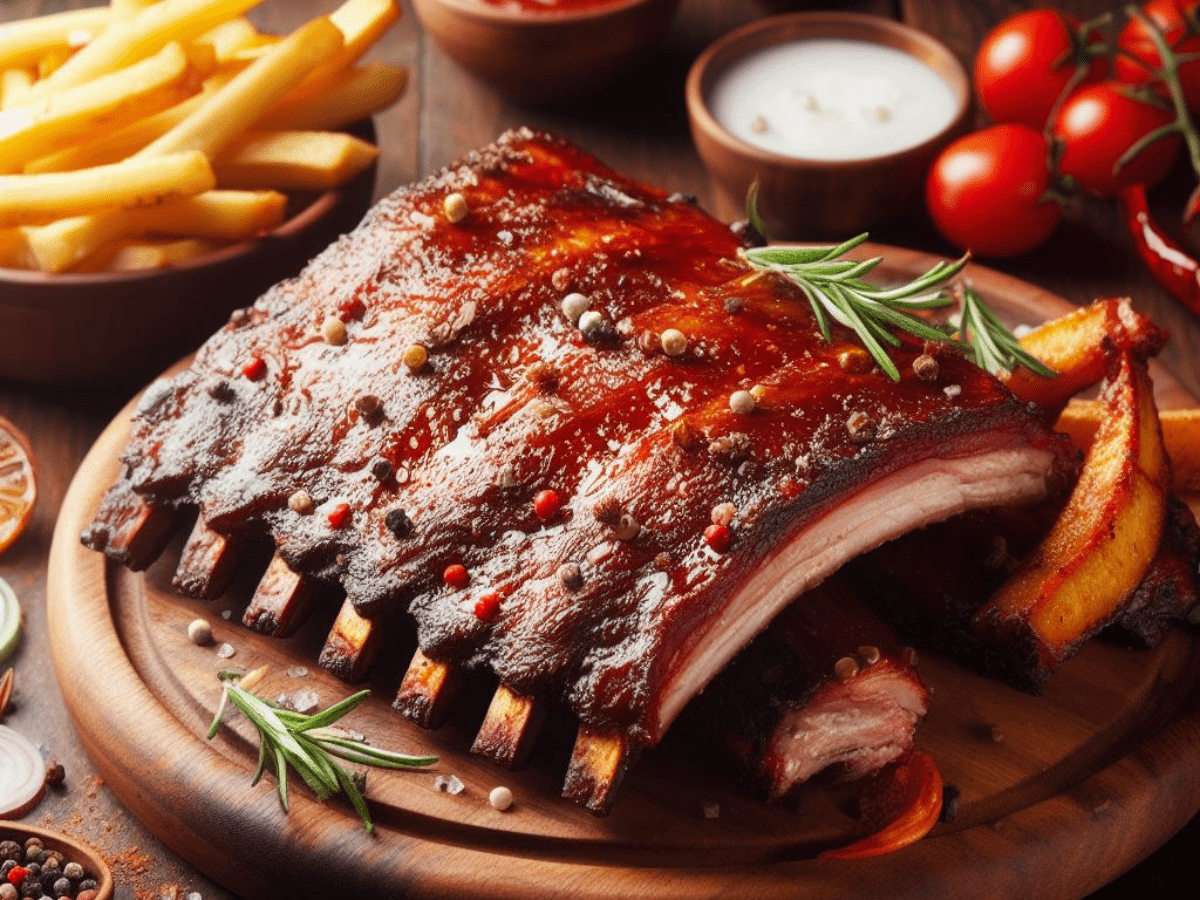
The moment of truth has arrived - it's time to unveil the culmination of your efforts and discover the perfection that is Pit Barrel Cooker ribs. Achieving this level of culinary excellence requires precision, patience, and a keen eye for detail. Let's explore the final steps in your journey to rib nirvana.
Checking for Doneness
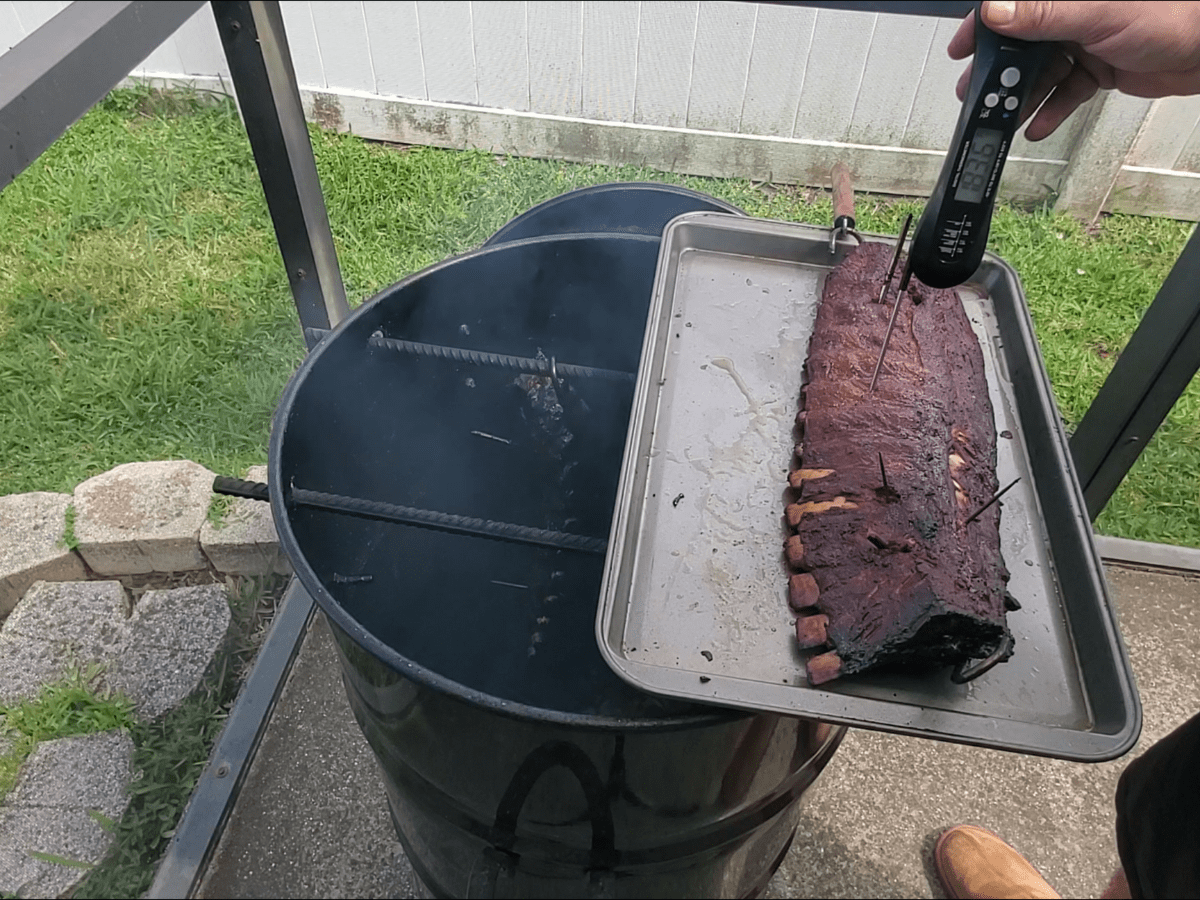
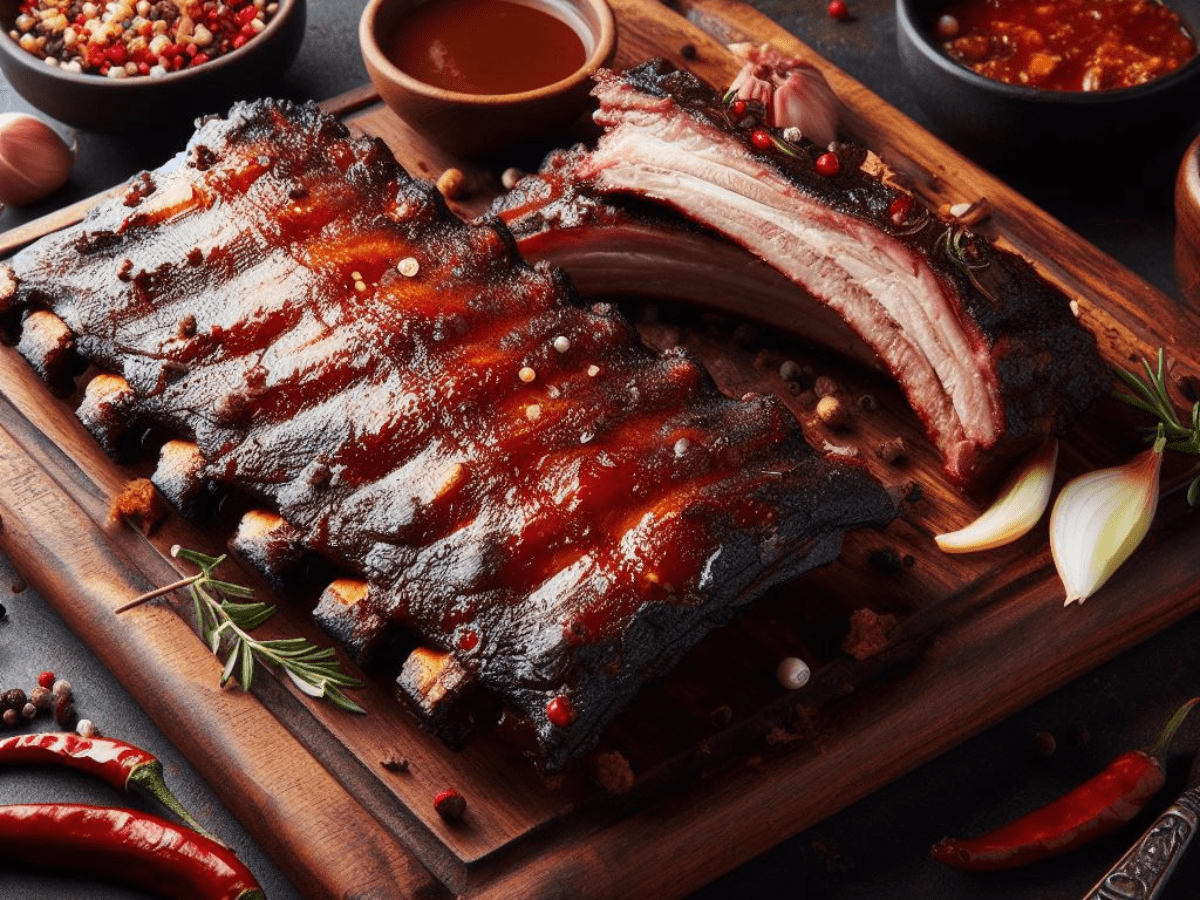
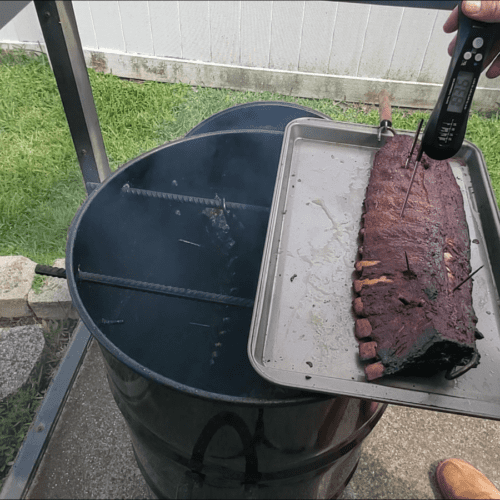
The key to knowing when your Pit Barrel Cooker ribs are perfectly cooked lies in the art of temperature assessment. While there are various methods to determine doneness, using a meat thermometer is the most reliable and foolproof approach.
Serving and Enjoying
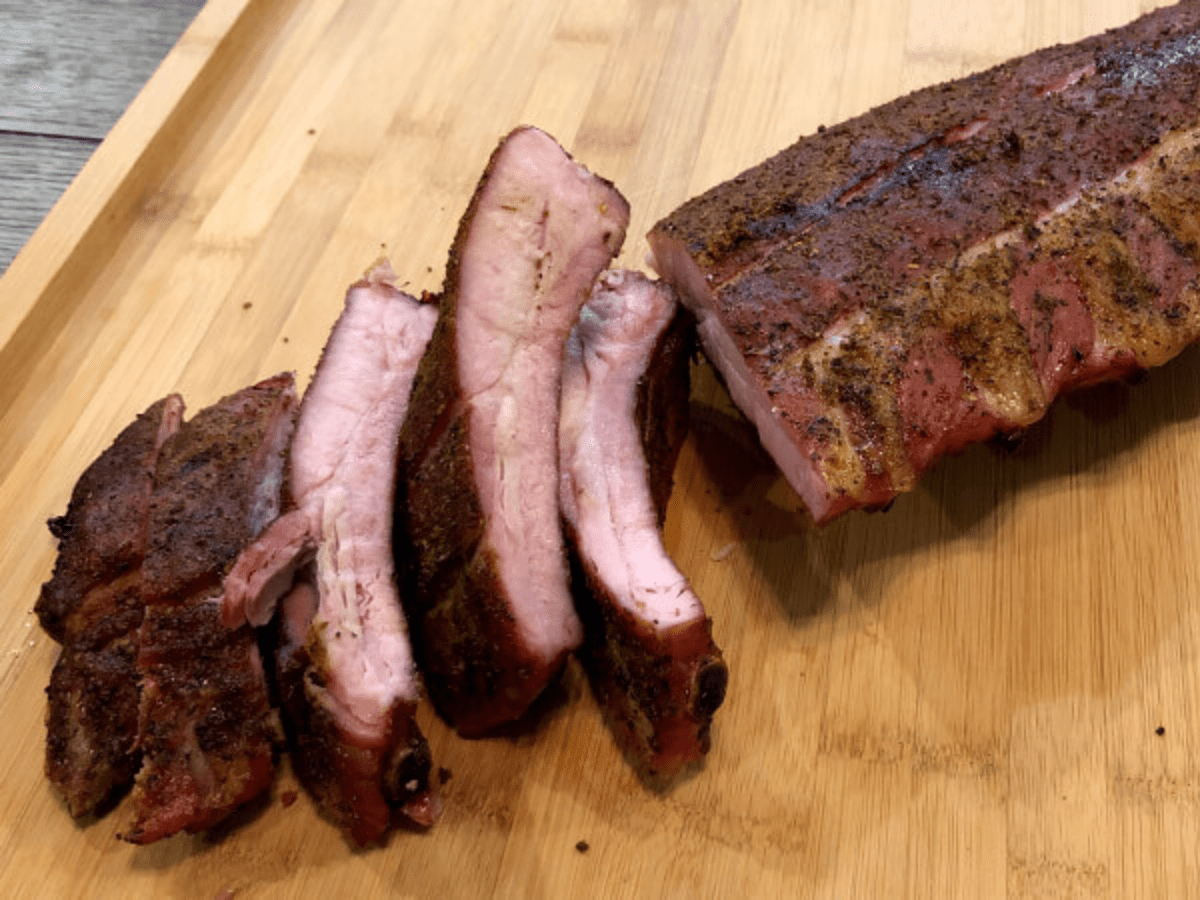
After all the hard work and anticipation, it's time to savor the fruits of your labor. Here's how to slice and serve your Pit Barrel Cooker ribs like a seasoned pro:
Looking for More Pit Barrel Cooker Delights?
If your taste buds are tingling and your appetite for Pit Barrel Cooker goodness has been awakened, then you're in for a treat. Explore an array of mouthwatering Pit Barrel Cooker recipes that will make you drool with anticipation. Just click the link below and dive into another culinary adventure with our "10 Mouthwatering Pit Barrel Cooker Recipes to Make You Drool" post. Get ready to discover a whole new world of flavor that will keep you coming back for more.
In conclusion, achieving perfection with Pit Barrel Cooker ribs is a rewarding journey that culminates in a feast for the senses. By using a meat thermometer to ensure precise doneness and mastering the art of slicing and serving, you'll be able to present ribs that not only taste incredible but also look the part. So, gather your guests, set the table, and relish in the satisfaction of creating a memorable barbecue experience that will have everyone coming back for more.
Gain the skills and confidence You need to Level up your BBQ game with my FREE Cookbook
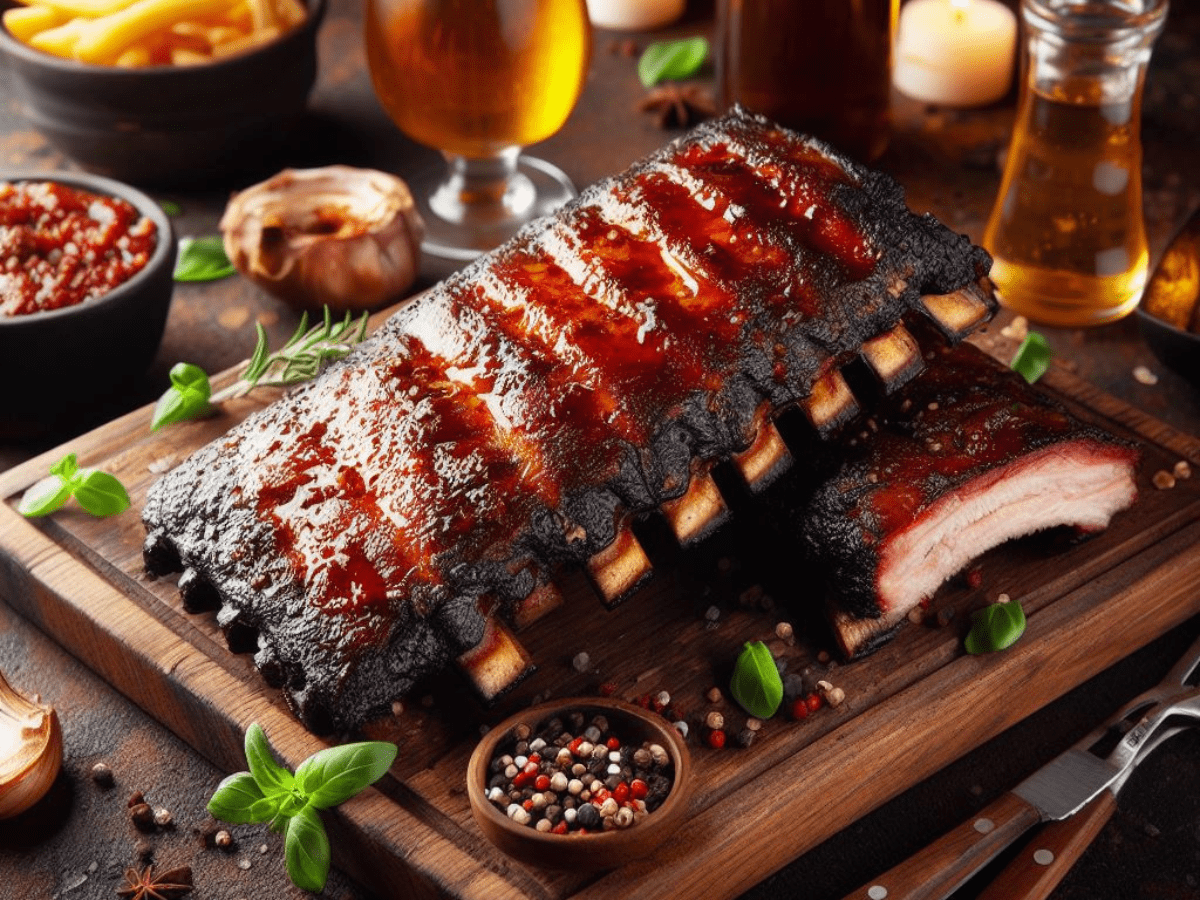
How To Smoke Fall-off-the-Bone Pit Barrel Cooker Ribs Conclusion
In the realm of barbecue, where smoke meets skill and flavor reigns supreme, mastering the art of Pit Barrel Cooker ribs is akin to reaching culinary nirvana. As we conclude this flavorful journey, it's evident that the Pit Barrel Cooker isn't just an outdoor appliance; it's a gateway to a world of gastronomic delight.
Armed with the knowledge shared in this post, you've unlocked the secrets to creating ribs that rival the finest barbecue establishments. From the careful selection of ribs and the meticulous preparation to the expert cooking techniques and the joyful act of serving, every step has been a testament to your dedication.
innovative design and vertical cooking prowess
The Pit Barrel Cooker, with its innovative design and vertical cooking prowess, has proven to be an indispensable ally in your quest for rib perfection. Its ability to infuse smoky allure and maintain consistent heat has elevated your barbecue game to new heights.
As you savor each bite of tender, flavorful rib, you're not just indulging in a meal; you're relishing the fruits of your passion and expertise. The smoky aroma, the succulent texture, and the harmonious blend of seasonings are a testament to your culinary prowess.
So, whether you're sharing these delectable ribs with loved ones or simply basking in the satisfaction of a job well done, remember that you've embarked on a journey of flavor, creativity, and barbecue mastery. The Pit Barrel Cooker will continue to be your trusted companion on countless more culinary adventures, each one as delightful as the last. Cheers to Pit Barrel Cooker ribs perfection and the countless moments of barbecue bliss that lie ahead!
Make sure to comeback to SmokyBeginnings.com as we are continuously adding new recipes and tips to the site.
Pit Barrel Cooker Ribs FAQs
A: The cooking time for ribs on a Pit Barrel Cooker can vary depending on factors like the type of ribs and the desired level of doneness. In general, spare ribs typically take around 4 to 5 hours, while baby back ribs might require 3 to 4 hours. Keep in mind that these are approximate times, and it's crucial to use a meat thermometer to check for doneness.
A: Spare ribs are a bit larger and meatier than baby back ribs, so they generally take a bit longer to cook on the Pit Barrel Cooker. Plan for a cooking time of approximately 4 to 5 hours for spare ribs. Again, it's essential to monitor the internal temperature with a meat thermometer to ensure they are cooked to perfection.
A: St. Louis-style ribs, which are spare ribs with the brisket bone removed, typically require a cooking time similar to regular spare ribs. You can expect to cook St. Louis ribs on the Pit Barrel Cooker for approximately 4 to 5 hours. Be sure to check the internal temperature to confirm they are done.
A: Baby back ribs, being leaner and smaller, generally cook a bit faster than spare ribs. Plan for a cooking time of about 3 to 4 hours when smoking baby back ribs on the Pit Barrel Cooker. To ensure they are perfectly cooked, use a meat thermometer to check the internal temperature, aiming for the desired doneness.

Pit Barrel Cooker Ribs
Ingredients
- 2 Rack of Ribs
- ¼ cup Brown sugar
- 2 tbsp Paprika
- 1 tbsp Salt
- 1 tbsp Black Pepper
- 1 tbsp Garlic Powder
- 1 tbsp Onion Powder
- 1 tsp Cayenne Pepper adjust to taste for spiciness
Instructions
- Mix It Up: In a bowl, combine all the dry ingredients listed above. Stir well to ensure an even distribution of flavors.
- Coat Generously: Lay your ribs on a clean surface, and generously sprinkle the rub mixture onto both sides. Don't be shy; the rub will enhance the flavor and create a beautiful crust as your ribs cook.
- Massage In: Gently massage the rub into the meat, making sure it adheres well. This step allows the flavors to penetrate the ribs and work their magic.
- Rest: Once your ribs are perfectly seasoned, let them rest for about 15-30 minutes. This brief resting period allows the rub to meld with the meat, creating a harmonious flavor profile.
